I started this post back in July…now here I am the day before Halloween posting a Halloween craft! Oh well, you’ll be ready for it next year :). I made these last year, they’re relatively quick (depending on how good of a painter you are) and they’re really fun as haunted house, haunted mansion, or apothecary table decor! I’ve looked around and so far I’m the FIRST AND ONLY person who has made these – woo hoo for creativity! I’m sure that won’t be the case after I publish and promote this post. I bought everything here online, I’ve had a really hard time finding the shield shaped plaques so online is easier but you could always use a different shape.
Just to let you know, this post may contain links to affiliate pages. I receive a small kick back from these purchases which I use to help cover the costs of maintaining this blog. You don’t get charged more for making a purchase through these links so I would really appreciate it if you make your purchases through them. You can read my full disclosure here. Thank you!
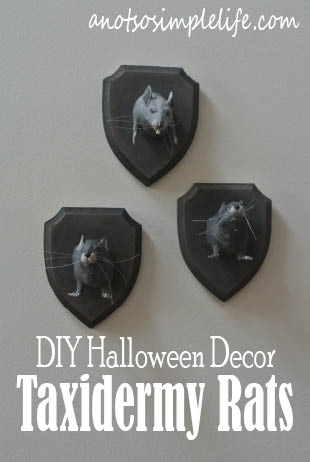
Faux Taxidermy Rat Wall Hangings , makes 3
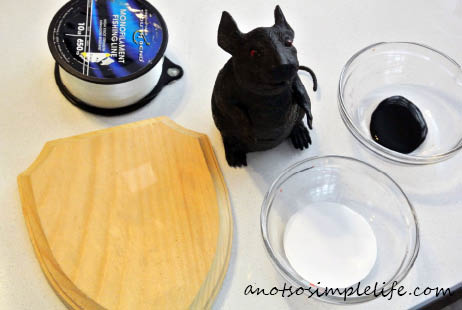
Things you’ll need:
3 – 6″ Plastic Rat (click the links to purchase)
3 – Walnut Hollow Wood Plaques, round, square, or shield shaped (I would get the 4″ sizes)
black, white, brown, and red acrylic paint
paint brushes
scrap newspaper
optional:
Clear Nylon Fishing Line and a large needle
Polyform Premo! Sculpey Polymer Clay 2 Oz: Granite White (if you want teeth)
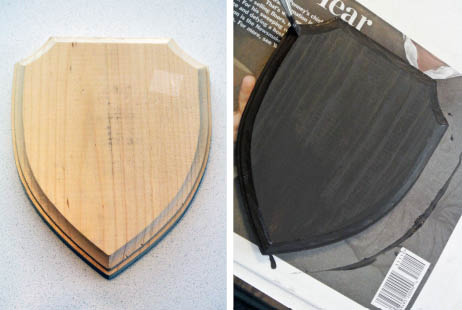
First you’ll need to get your painting done. Paint the Wood Plaques – I did this with a mixture of brown, black, and white acrylic paint. I first painted the entire plaque black, then I dry brushed and highlighted the edges to make it look worn. Here’s a close up of the finished plaque:
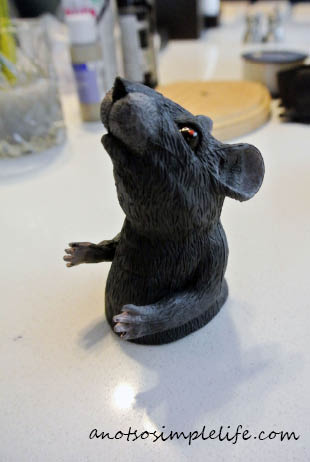
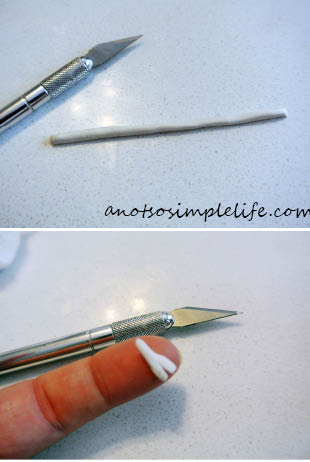
Next I painted the rats. To paint them I used black, white, and red paints (to make grays and pinks). To prep them I cut off the unrealistic whiskers that come on them with the X-ACTO Knife. I personally like to keep the rats body intact while painting so you have something unpainted to hold on to -You can cut the butt/feet area off after it’s dry. Each one is different but I would recommend starting with a darker gray to cover everything and then dry brushing with a lighter gray to pick up some of the fur detail. I highlighted the hands, ears, and area where the whiskers are with a light pink. I tried painting the eyes black and also red. I personally like the black eyes better, they look especially creepy when you use a glossy black acrylic like I did.
While the paint is drying it’s time to make the teeth (if you’ve decided to). You could really get creative here and make them as scary as you want. I just made them….rat like I guess?? To make them, roll out a piece of your Sculpey Polymer Clay into a 1/8″ thick rope and cut into 1/2″ long pieces. I wanted to be able to push the teeth into the rat and glue so that they were more sturdy. If you want to do this, fold each 1/2″ piece of clay into an “L” shape, flatten both sides and them make a slit in one of them (to form the teeth). You’ll then be able to cut a slit in the mouth of the rat and push the teeth in. Bake the teeth to the clay manufacturer’s specifications.
We’re almost done! Now a few last details and then it’s time to put these together!
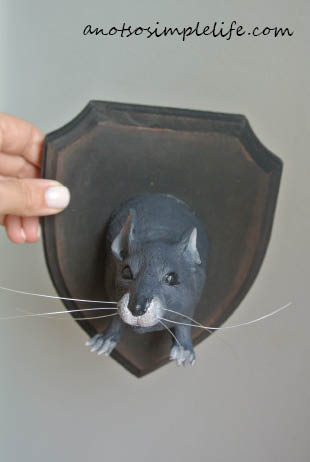
Make sure that the paint on your rats are dry and cut the butt/feet off of your rats. If you want to make some realistic whiskers this would be the time. I didn’t take any pictures of the process but here’s the easiest way to do it. Using your X-ACTO Knife, cut three “x” marks on each side of the rat’s cheeks where you would like the whiskers to be. Cut a 1 foot or longer piece of Clear Nylon Fishing Line (it needs to be much longer than the length of the whiskers combined because it makes life a lot easier!) Thread the fishing line through the large needle, tie a knot at one end. Push the needle through the “x” marks you cut on the rat’s cheeks. Pull the thread through but before the knot is pulled inside of the rat’s body, drop a dab of E-6000 Craft Glue on it so that it will adhere to the inside of the head and hold the whiskers in place. Repeat for all of the whiskers. If you have teeth, cut a slit where you would like to slide them in and glue them into place.

Finally, attaching the rat to the wood plaque – stuff the rat with scrap newspaper. Run a bead of E-6000 Craft Glue on the edge of the rat’s body and glue onto place. Let dry and hang in your haunted mansion!
Leave a Reply