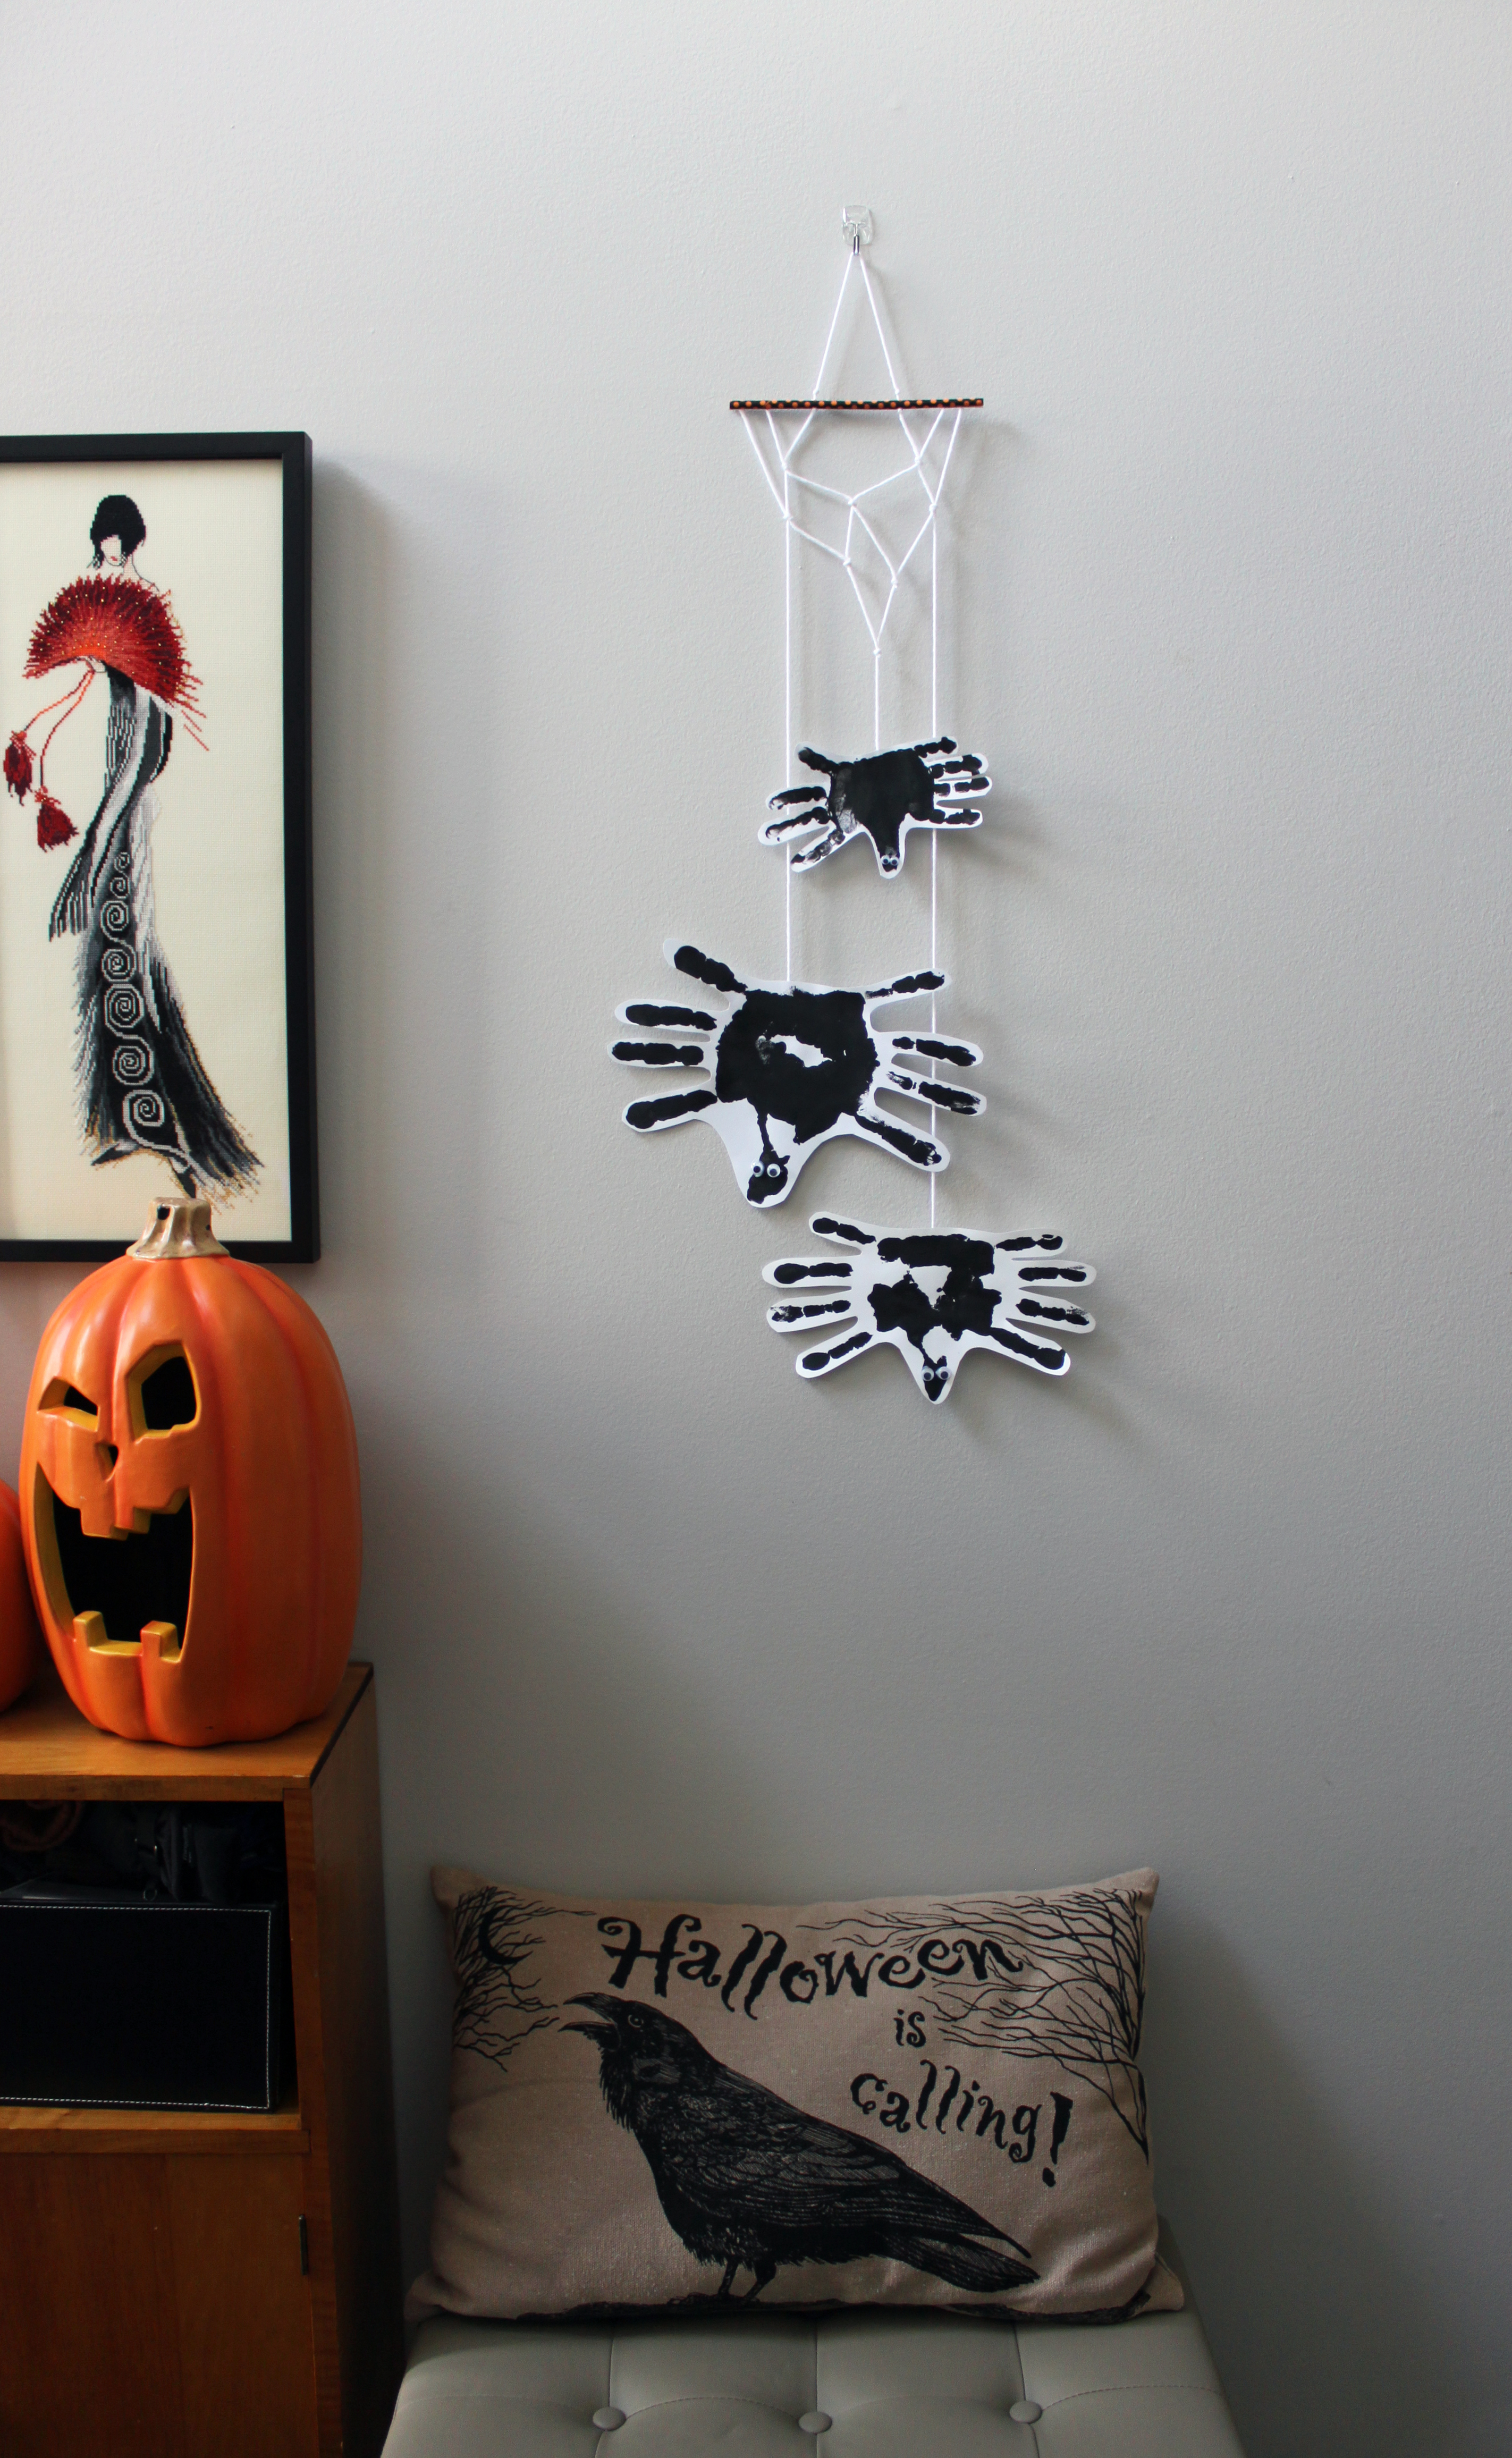
So, you may have seen the hand print spiders we made on day 2 of my 10 days of Halloween activities posts. I made 4 copies of each of our hand prints with plans to make some type of mobile-like Halloween decoration for us, my parents, and my in-laws. I’m super pleased with how it turned out! It took me some time to figure out the best way to accomplish a decent looking web (while my husband drove us to the petting zoo and pumpkin patch – multitasking!) but if you follow my easy directions you should be able to get it done in about 10 minutes or less.

Here’s what you’ll need:
1 Paper Straw (preferably Halloween themed like the ones Iused tha found at the dollar store last year after Halloween on clearance)or these Orange & Black Stripes & Dots Halloween Paper Straws)

15 ft. White Yarn
Embroidery Scissors (or scissors small enough to fit inside of the straw and cut a slit in it)
Something to poke a hole through the straw (I used the embroidery scissors)
Floral wire (to create a needle to string everything through the straw, like Darice Paddle Wire, 22-Gauge, Green)
Cut 3 pieces of yarn each 5 feet long. Set aside. So, I tried to get my LO to help me with this project and he was super excited to play with yarn BUT….here’s what we ended up with. This is more of an older kid’s activity I guess :). “Mom…Uh-oh…bwoke…”

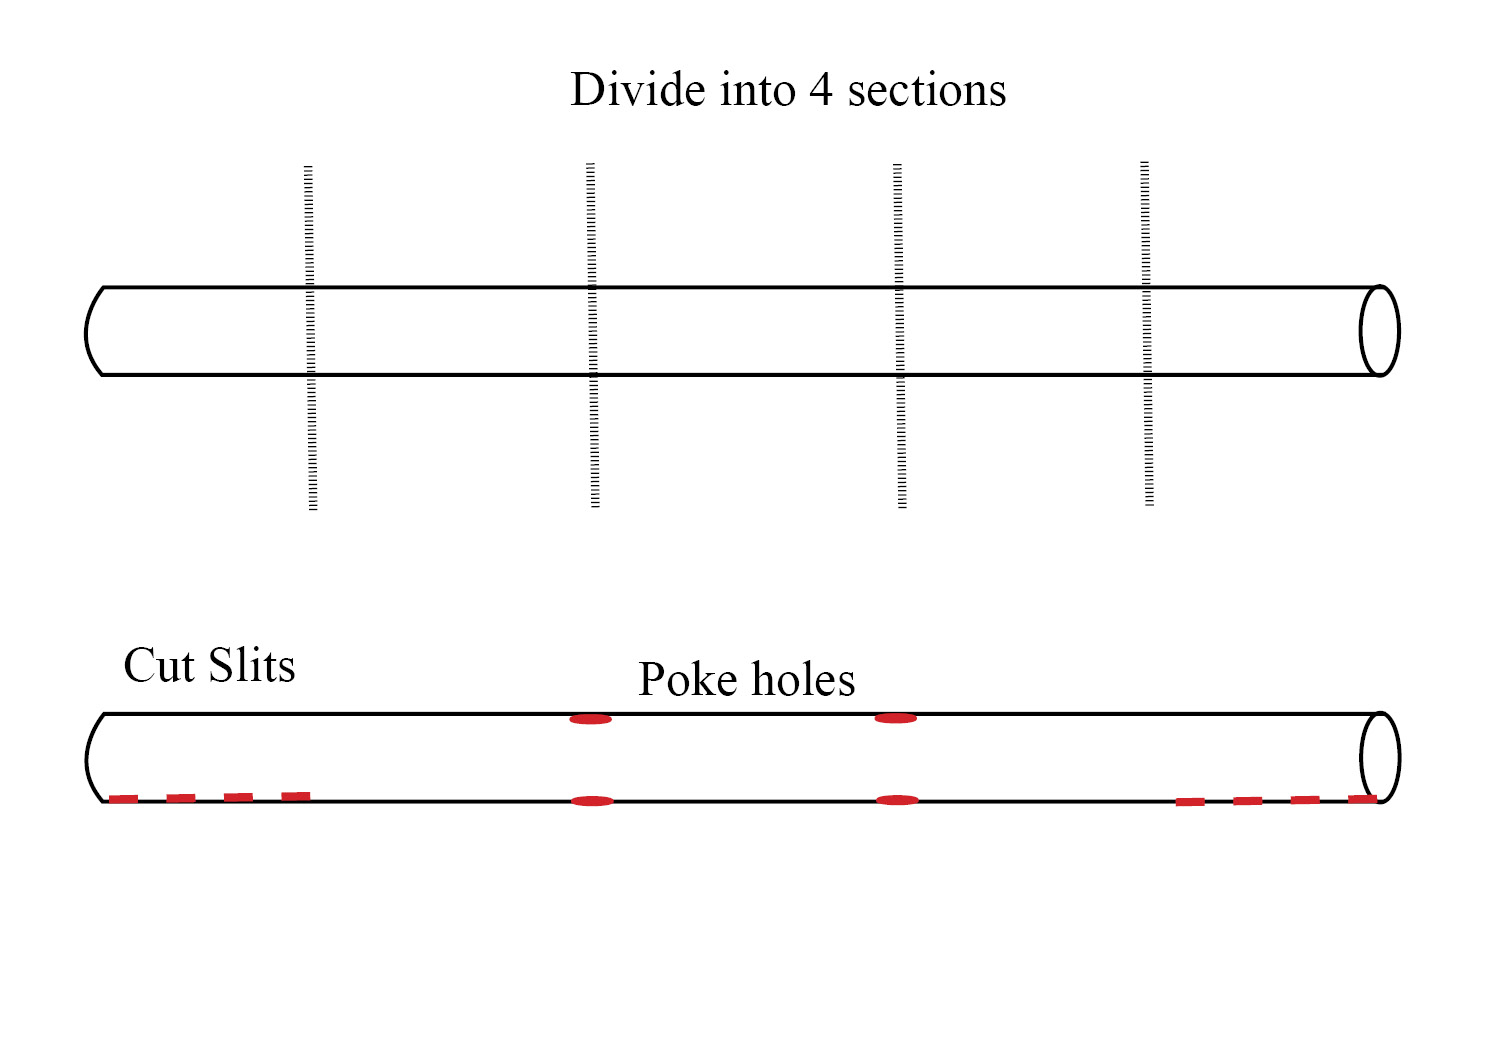
With a pencil, divide your straw into 4 parts, mark each point. Then, cut the straw, on both sides, from the outside to the first point (only on the bottom) and poke holes all the way through the other two points (from top to bottom). See my diagram…
Cut a piece of floral wire that is longer than the straw and make a loop one one end. Thread 2 pieces of yarn through the loop and pull them through the straw, then, tug one piece of yarn on each side down through the cut slits, like this…
Thread the last piece of yarn onto the floral wire needle and tie a knot about 18″ from the end of the yarn. Pull the needle/yarn, starting from the bottom, up through the hole you poked in the straw. Pull until stopped by the knot. Tie another knot in the yarn directly above the straw. Tie a third knot 6″ from the second knot, then push the needle/yarn down through the second set of holes you poked. once stopped by the knot you tied, tie another below he straw.
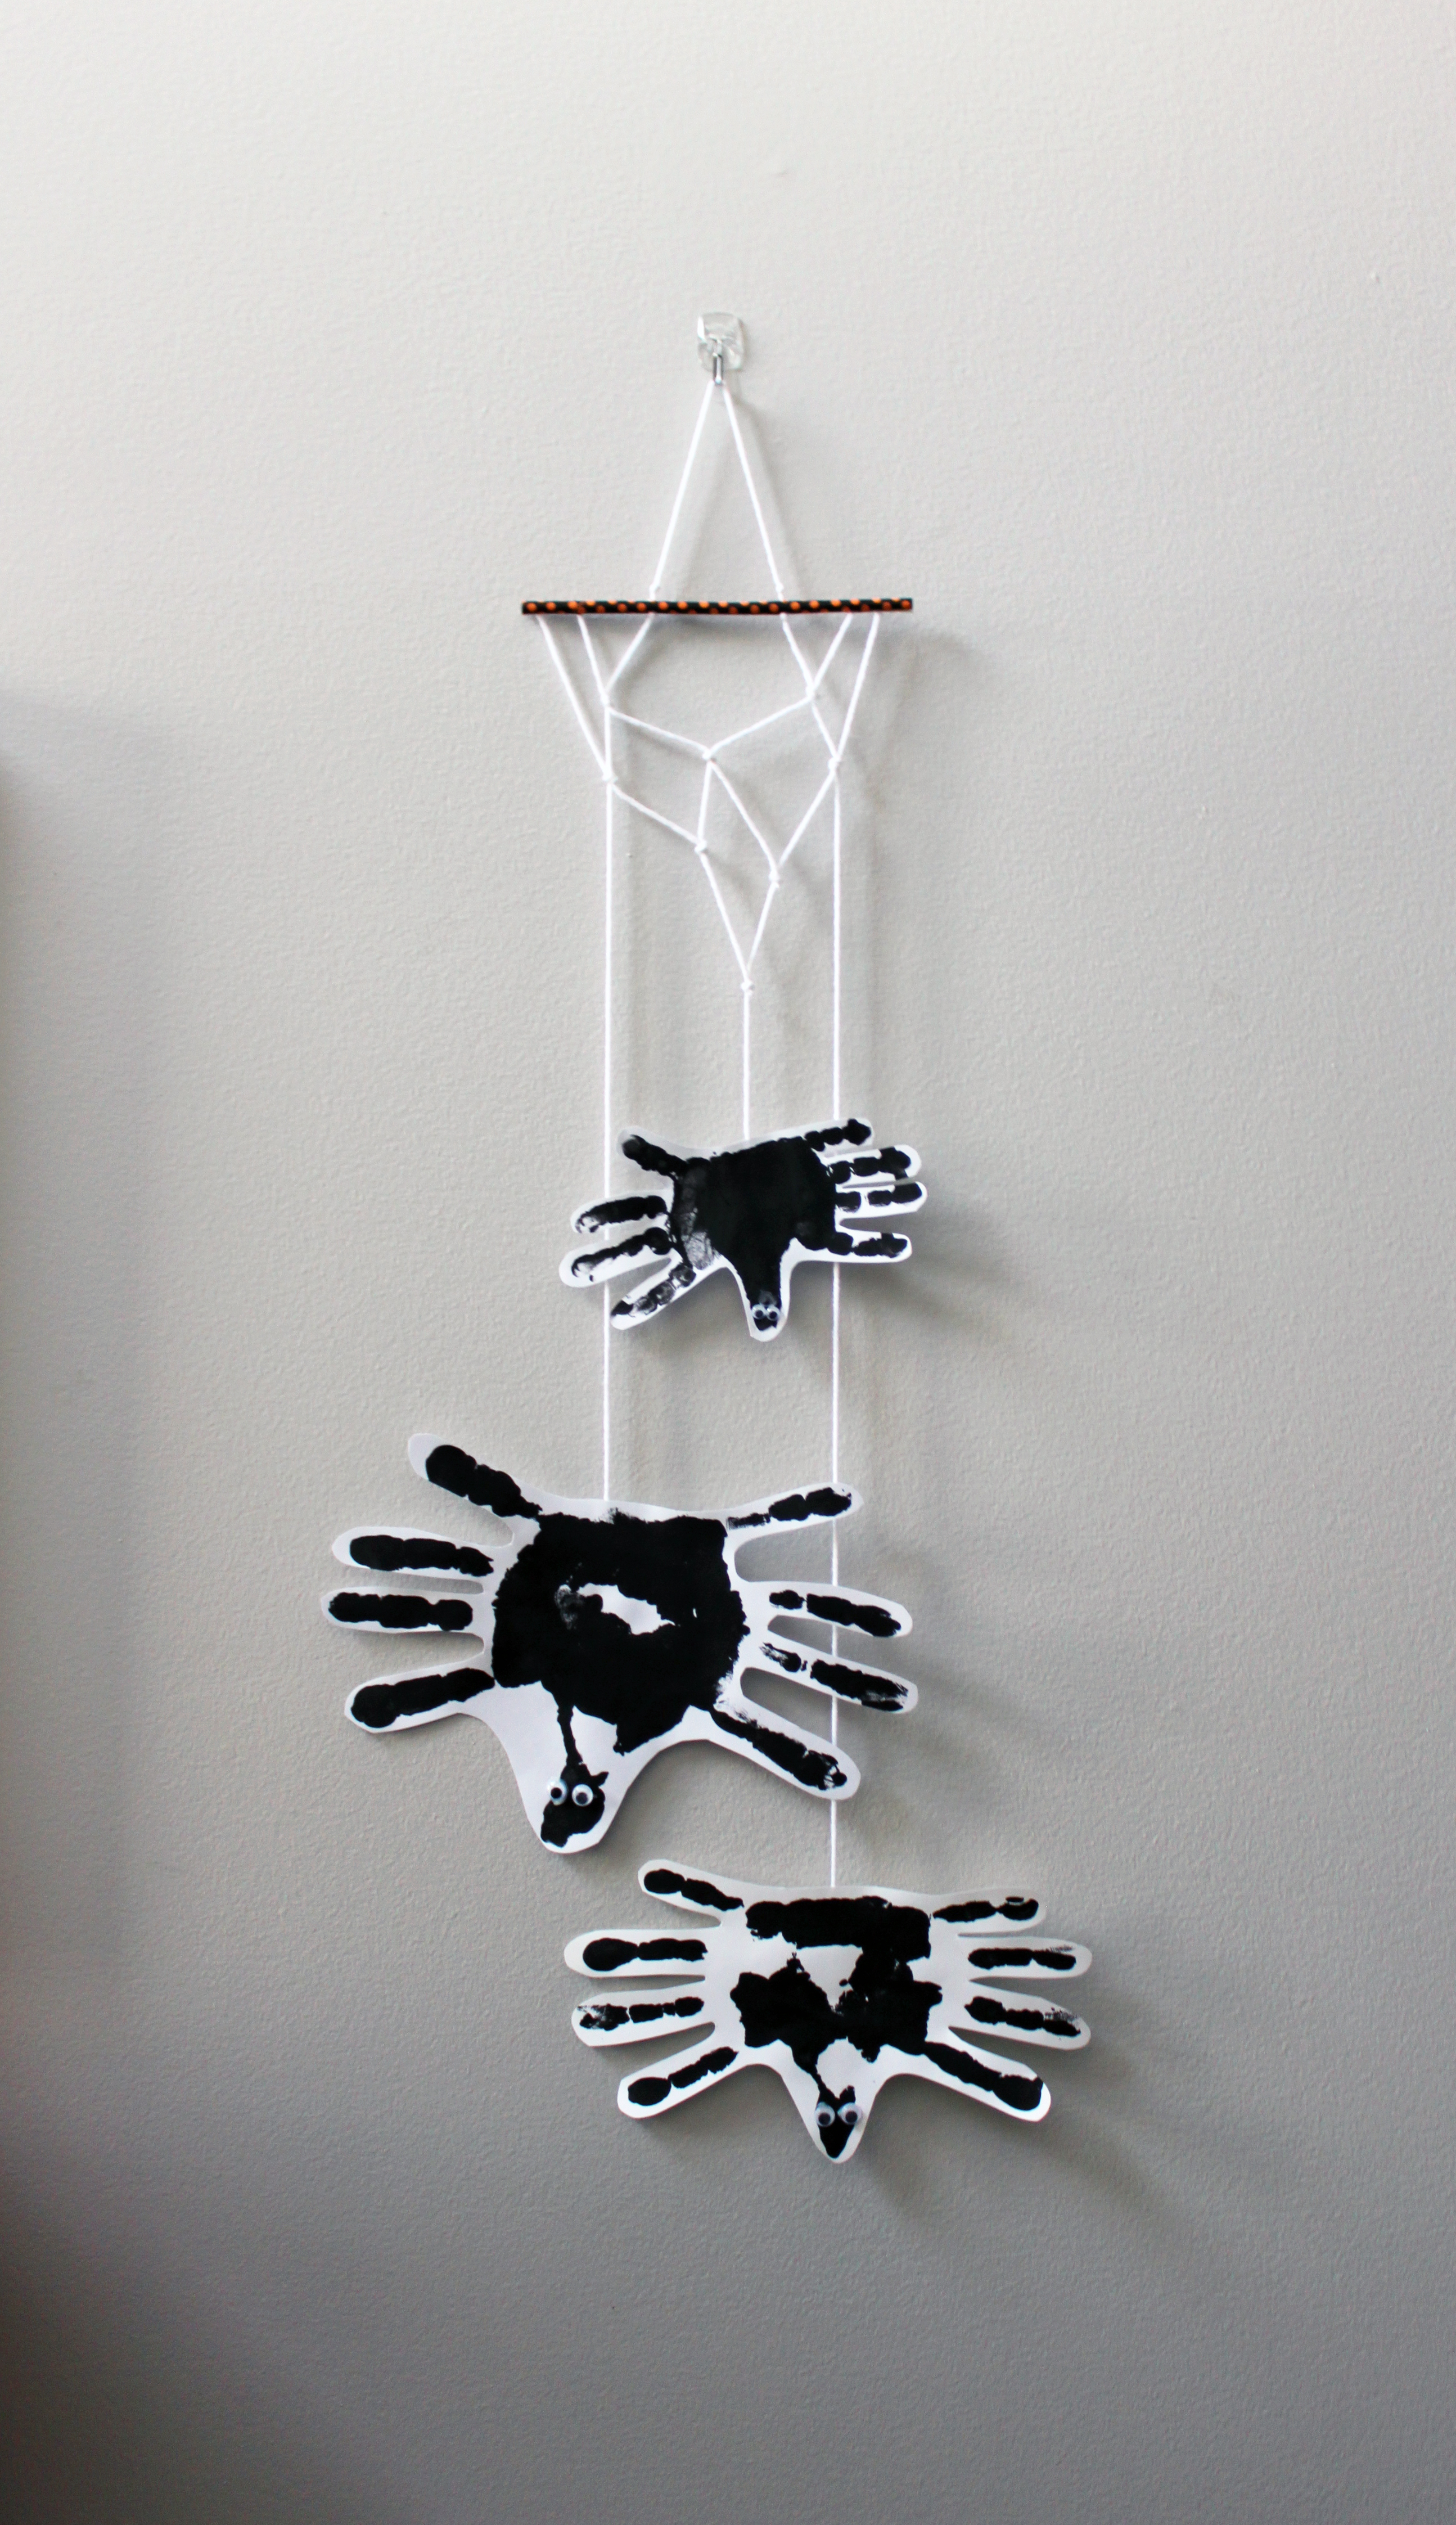
Now you should have the base done.
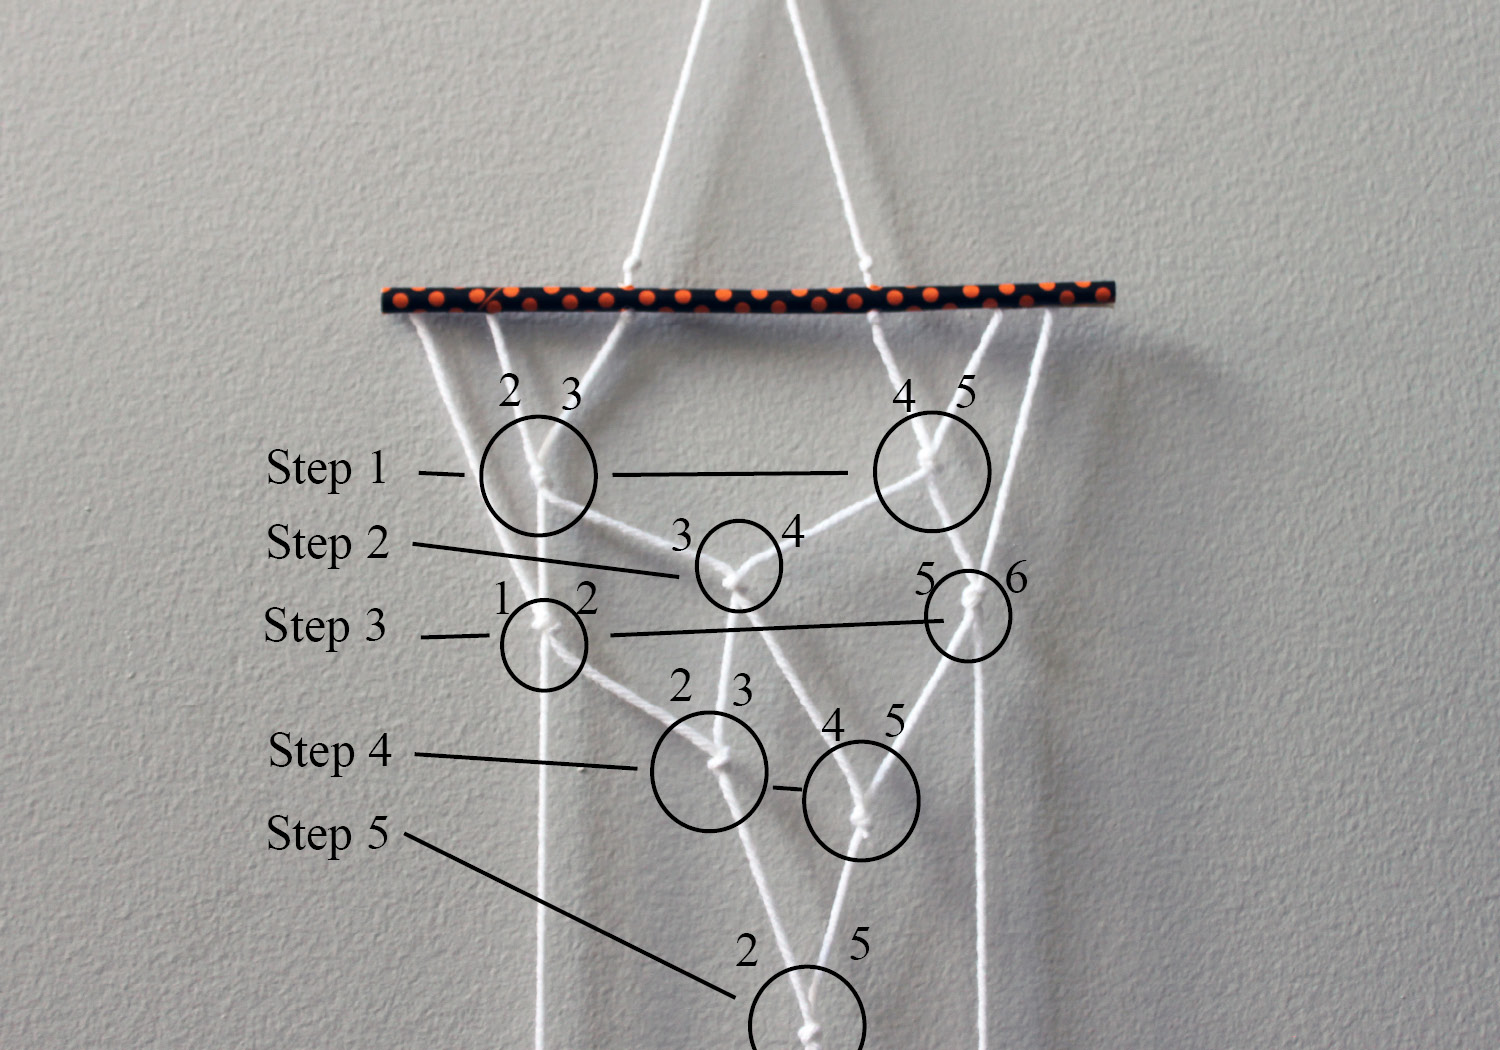
Time to tie a few more knots… Knot together strings 2 and 3, and 4 and 5 about1 1/2″ from the straw… Then 3 and 4, then 1 and 2 and 5 and 6. Then 2 and 3 and 4 and 5. Finally, 2 and 5. See this diagram….
Trim any of thr extra strings you don’t want to hang spiders from.
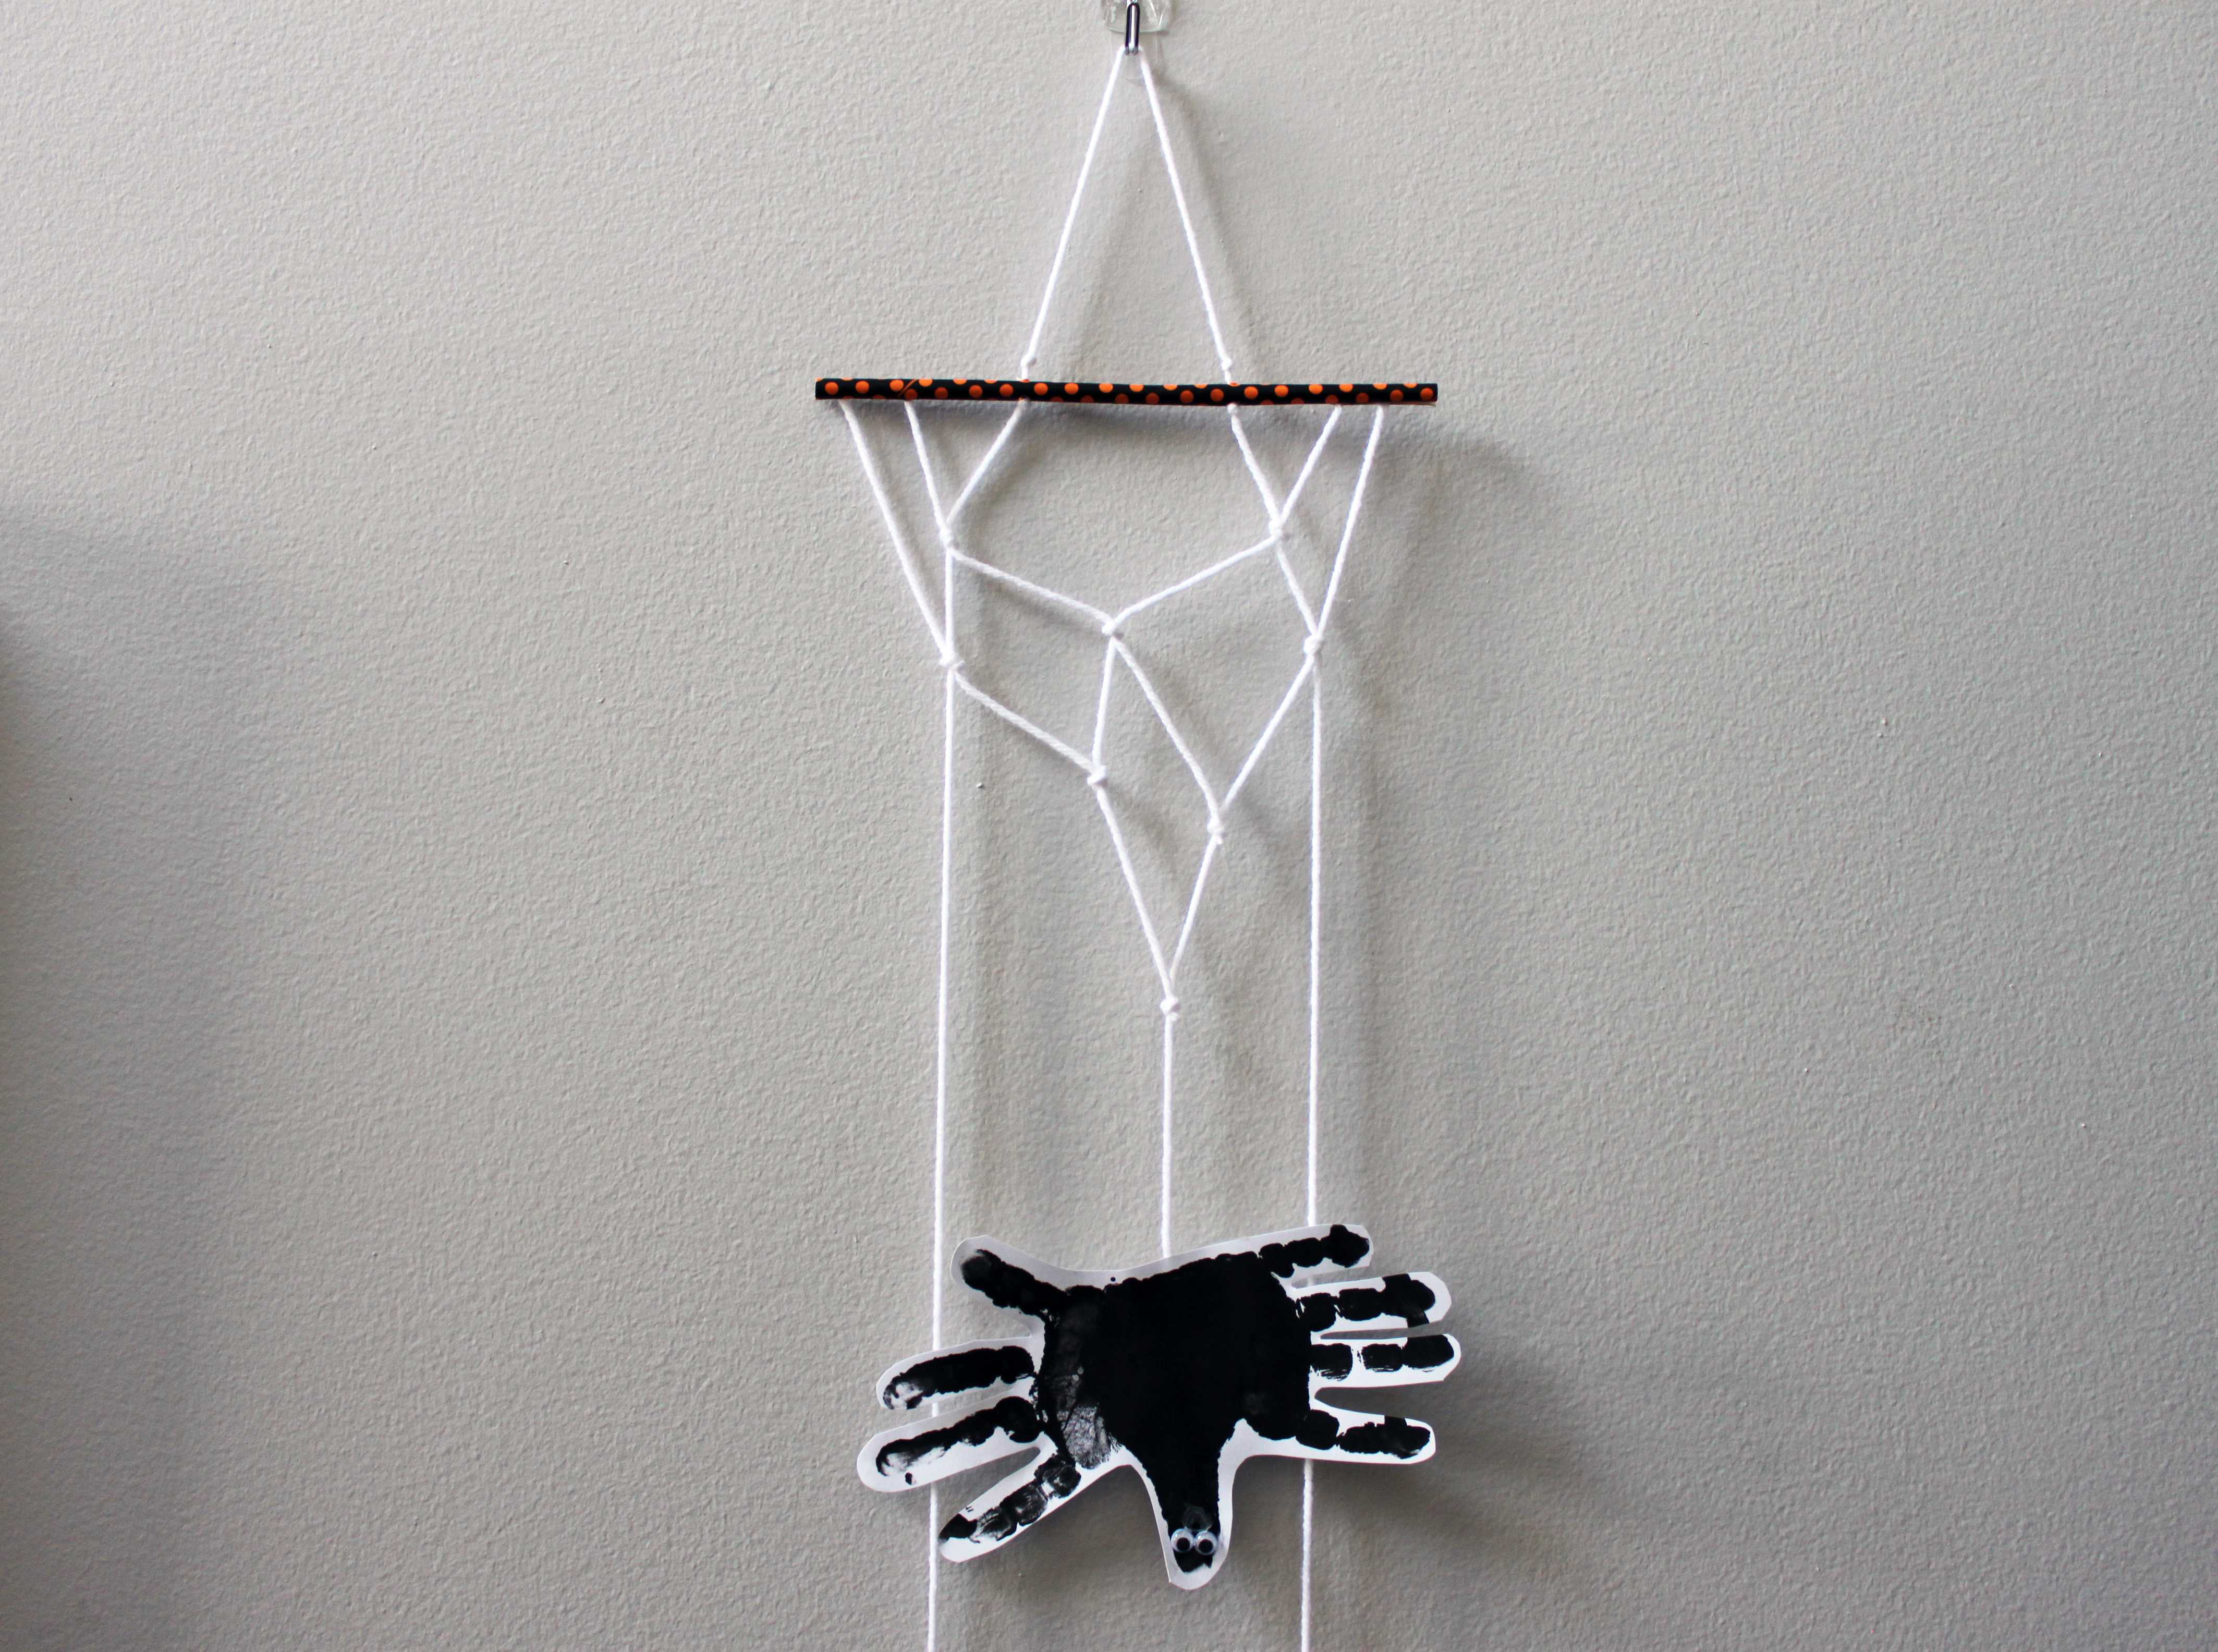
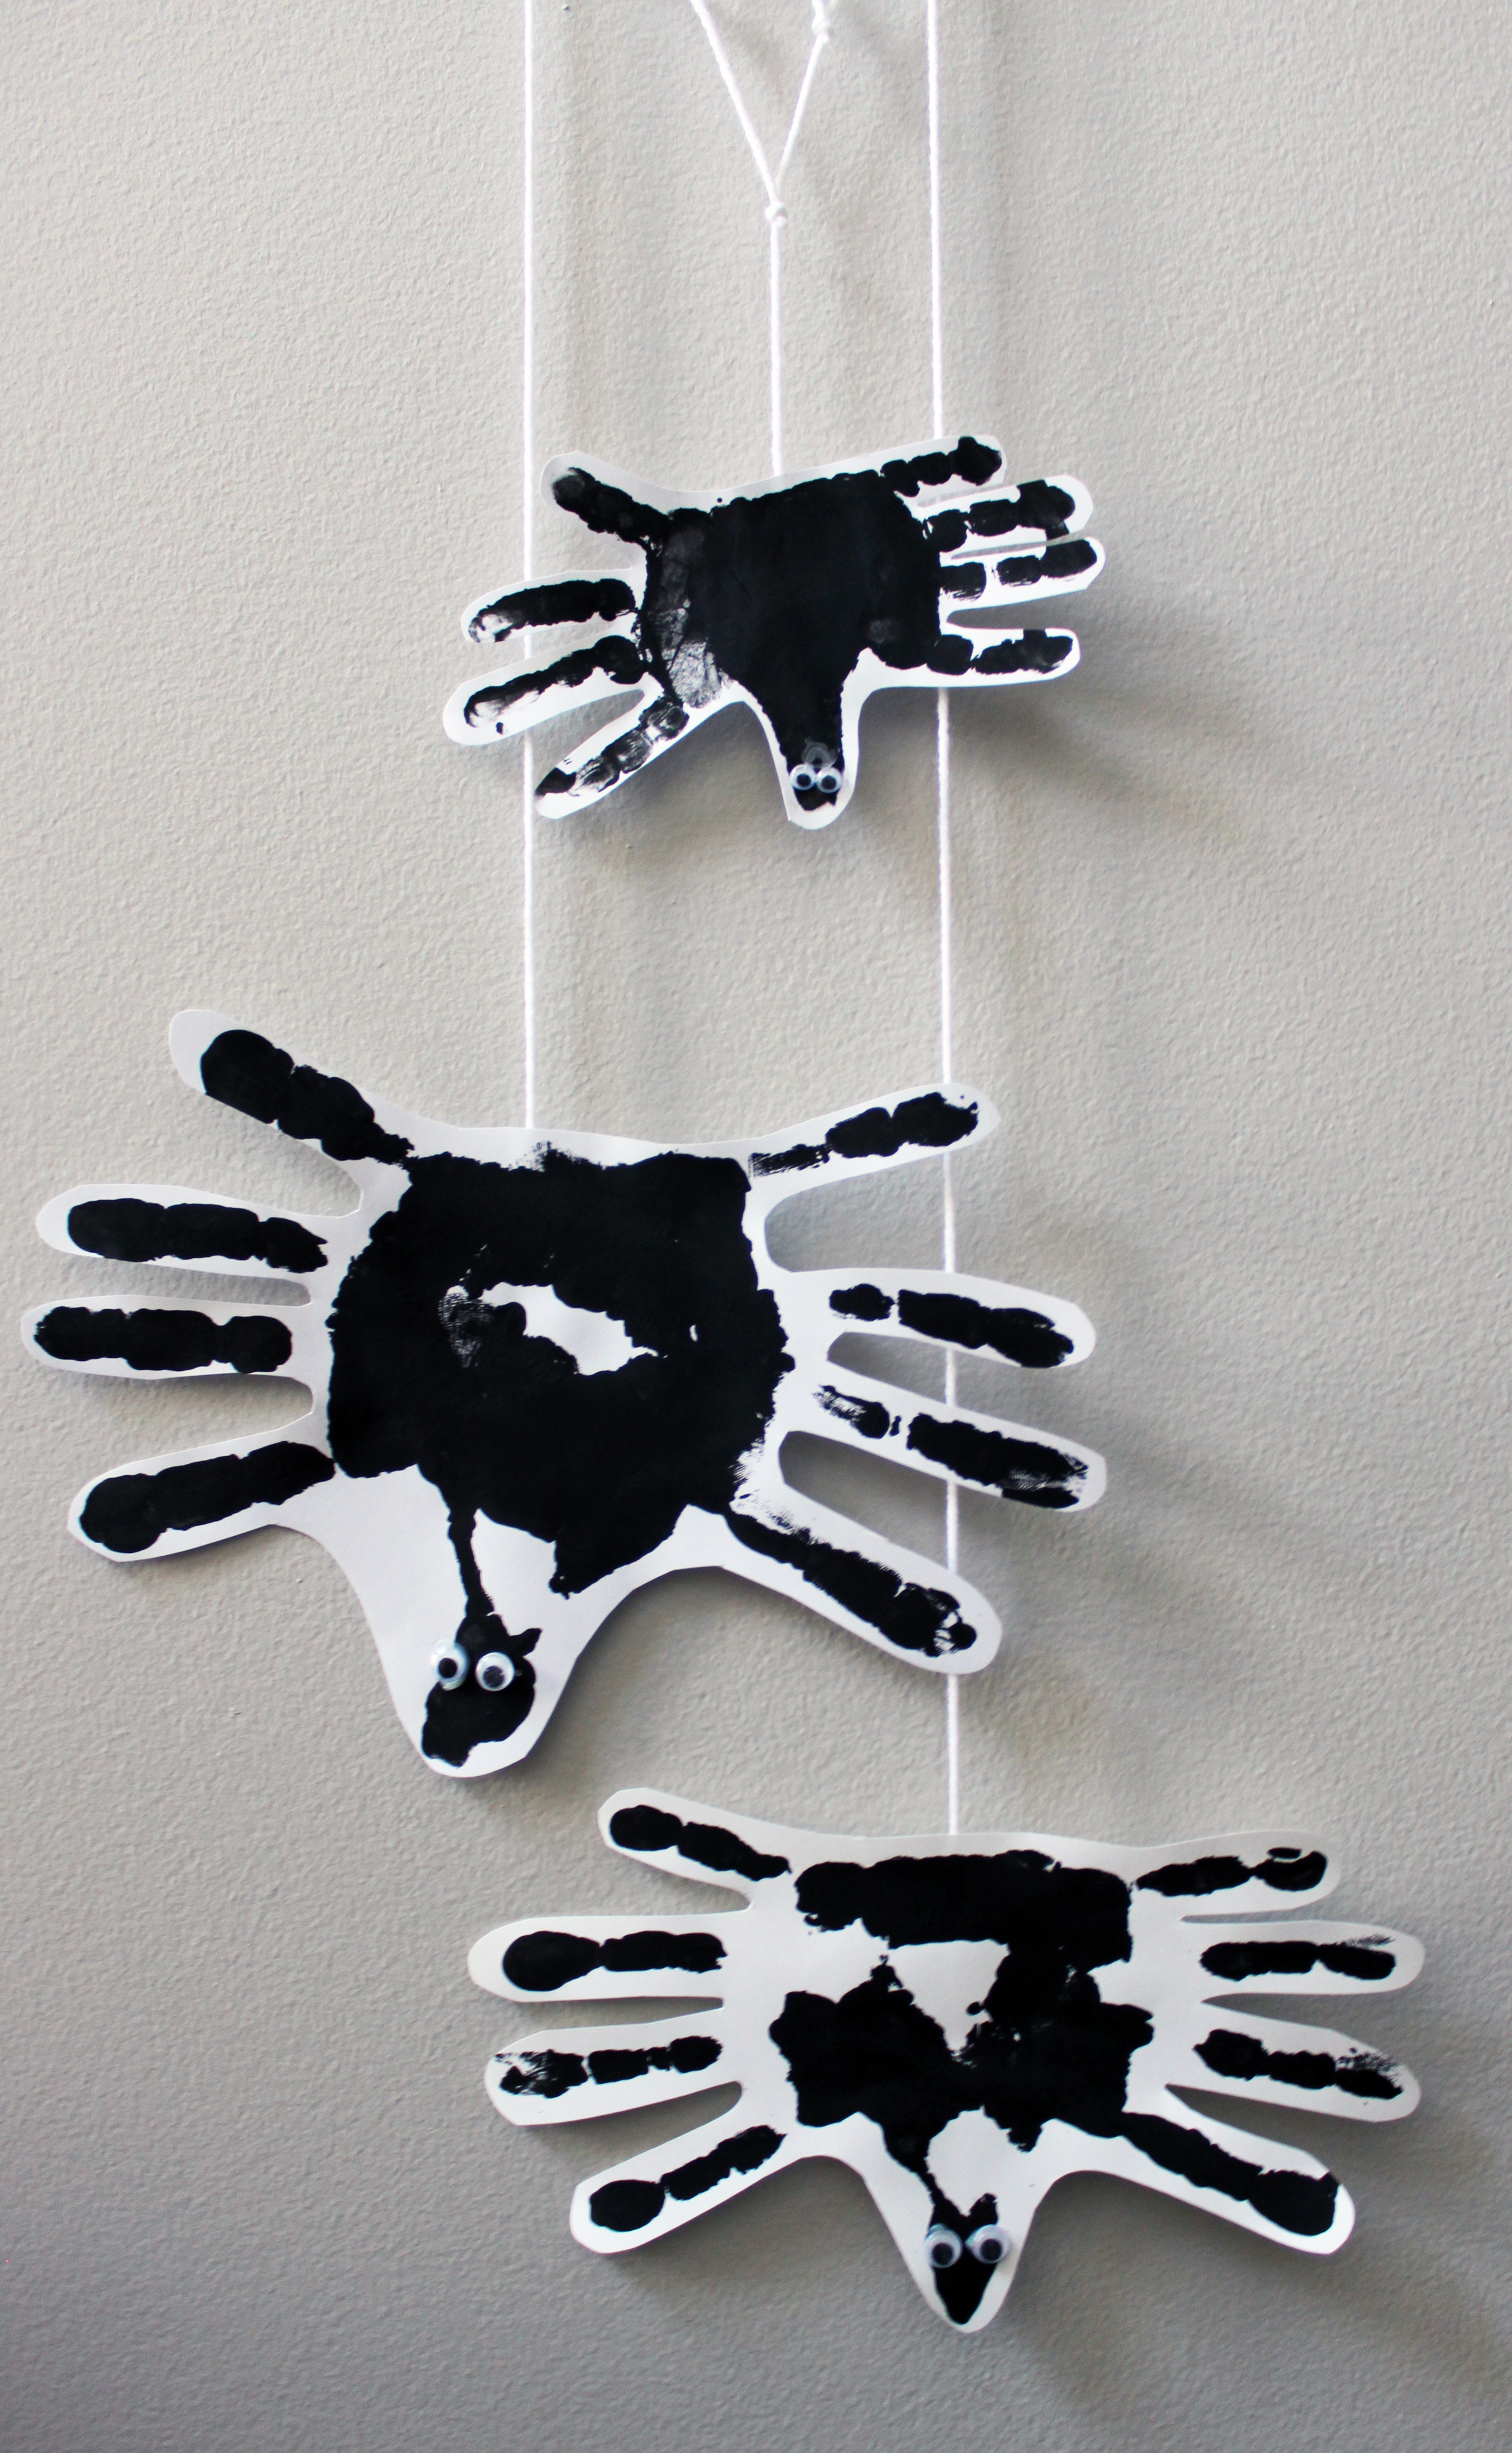
Finally, attach you spider or spiders…
Leave a Reply